All the guides about neural networks show how easy it is to generate cool images. But in reality, getting them to production level while maintaining consistency requires significant work.
You can’t do without Photoshop — while the neural network quality is excellent, you still need to refine: cut out, edit, color correct. In Figma, these capabilities are quite limited.
First, find some references — a few images with a style you like. On Dribbble, Behance, or other sites.
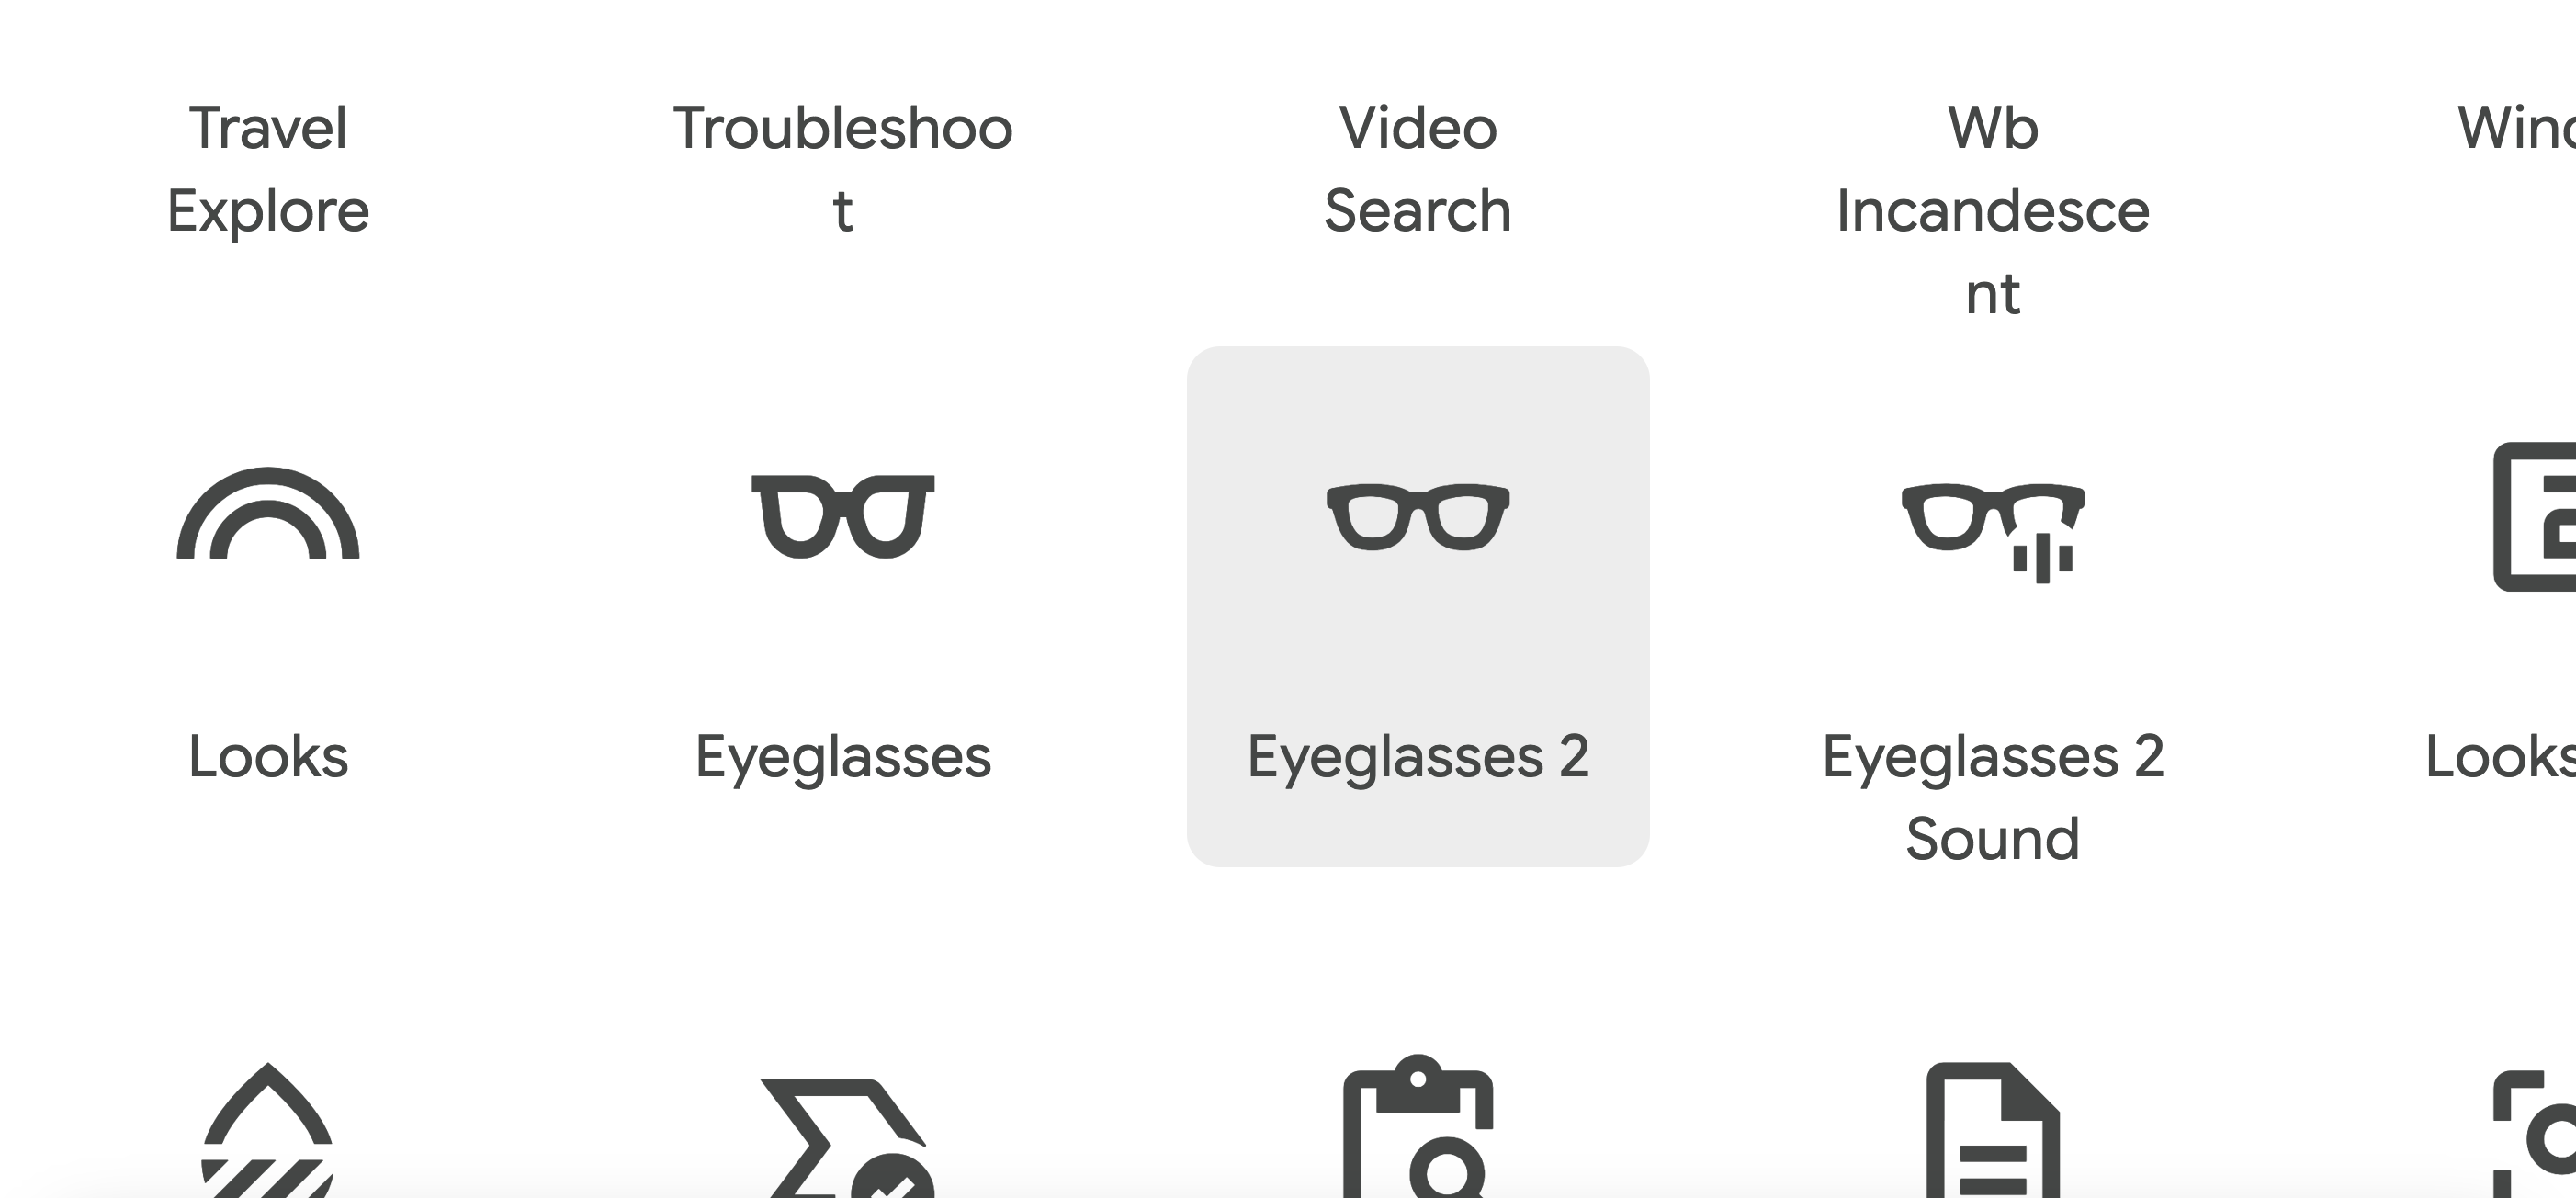
Then pick a Google Material icon that can illustrate your idea. Icons are here: https://fonts.google.com/icons
I zoom in the screen to maximum, take a screenshot of the icon, and copy it to Nano Banana chat.
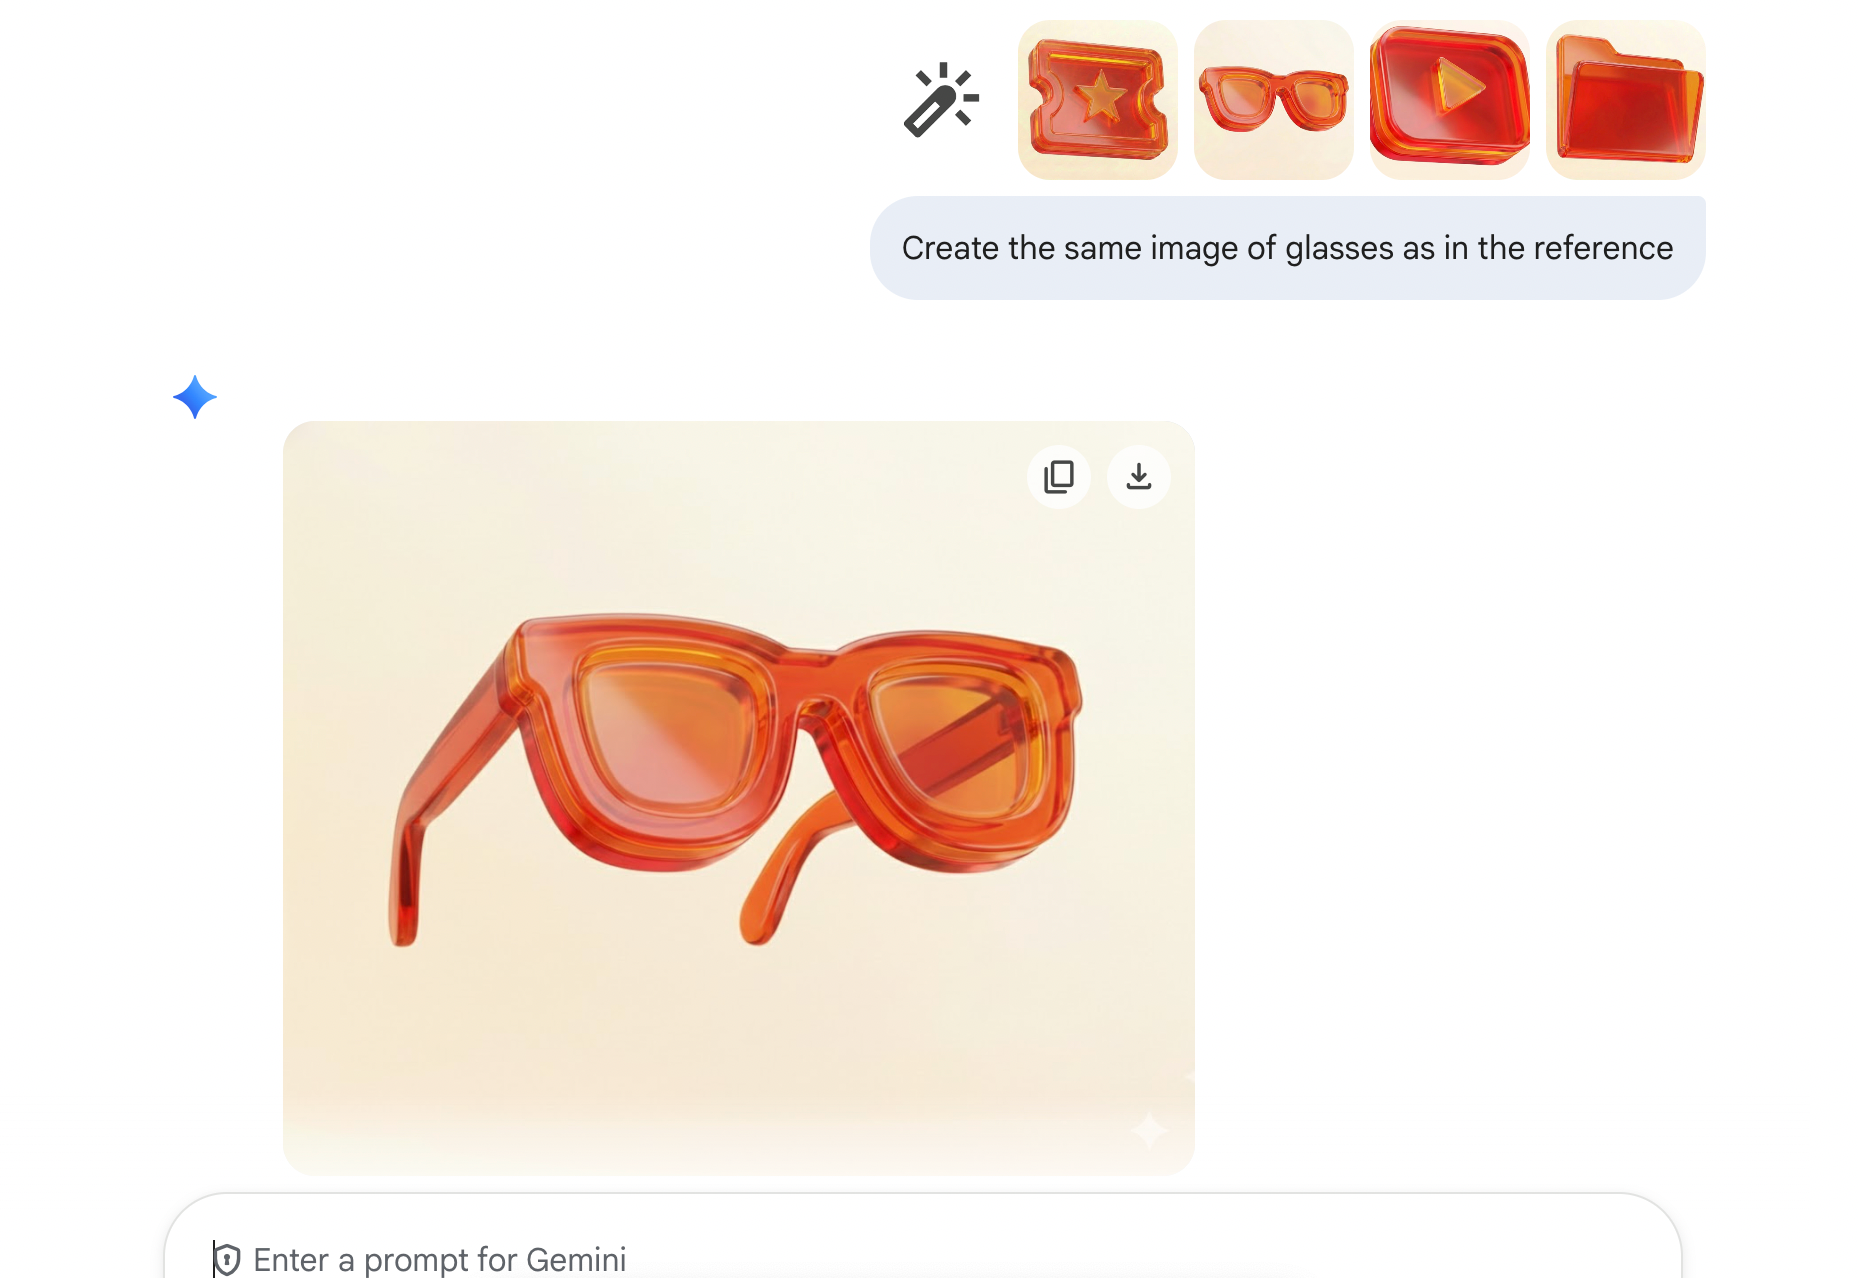
Then we drop the references and our icon into the chat and ask it to create something in the same style. It doesn’t always turn out well — it’s better not to try improving the result with prompts, just upload a different icon.
If the image looks good, copy it to Photoshop and cut out the object: use the “Object Selection” tool, then invert the selection and delete the background.
I highly recommend using keyboard shortcuts in Photoshop — they speed up work 2–5 times. I always set up hotkeys for myself first, then work with images.
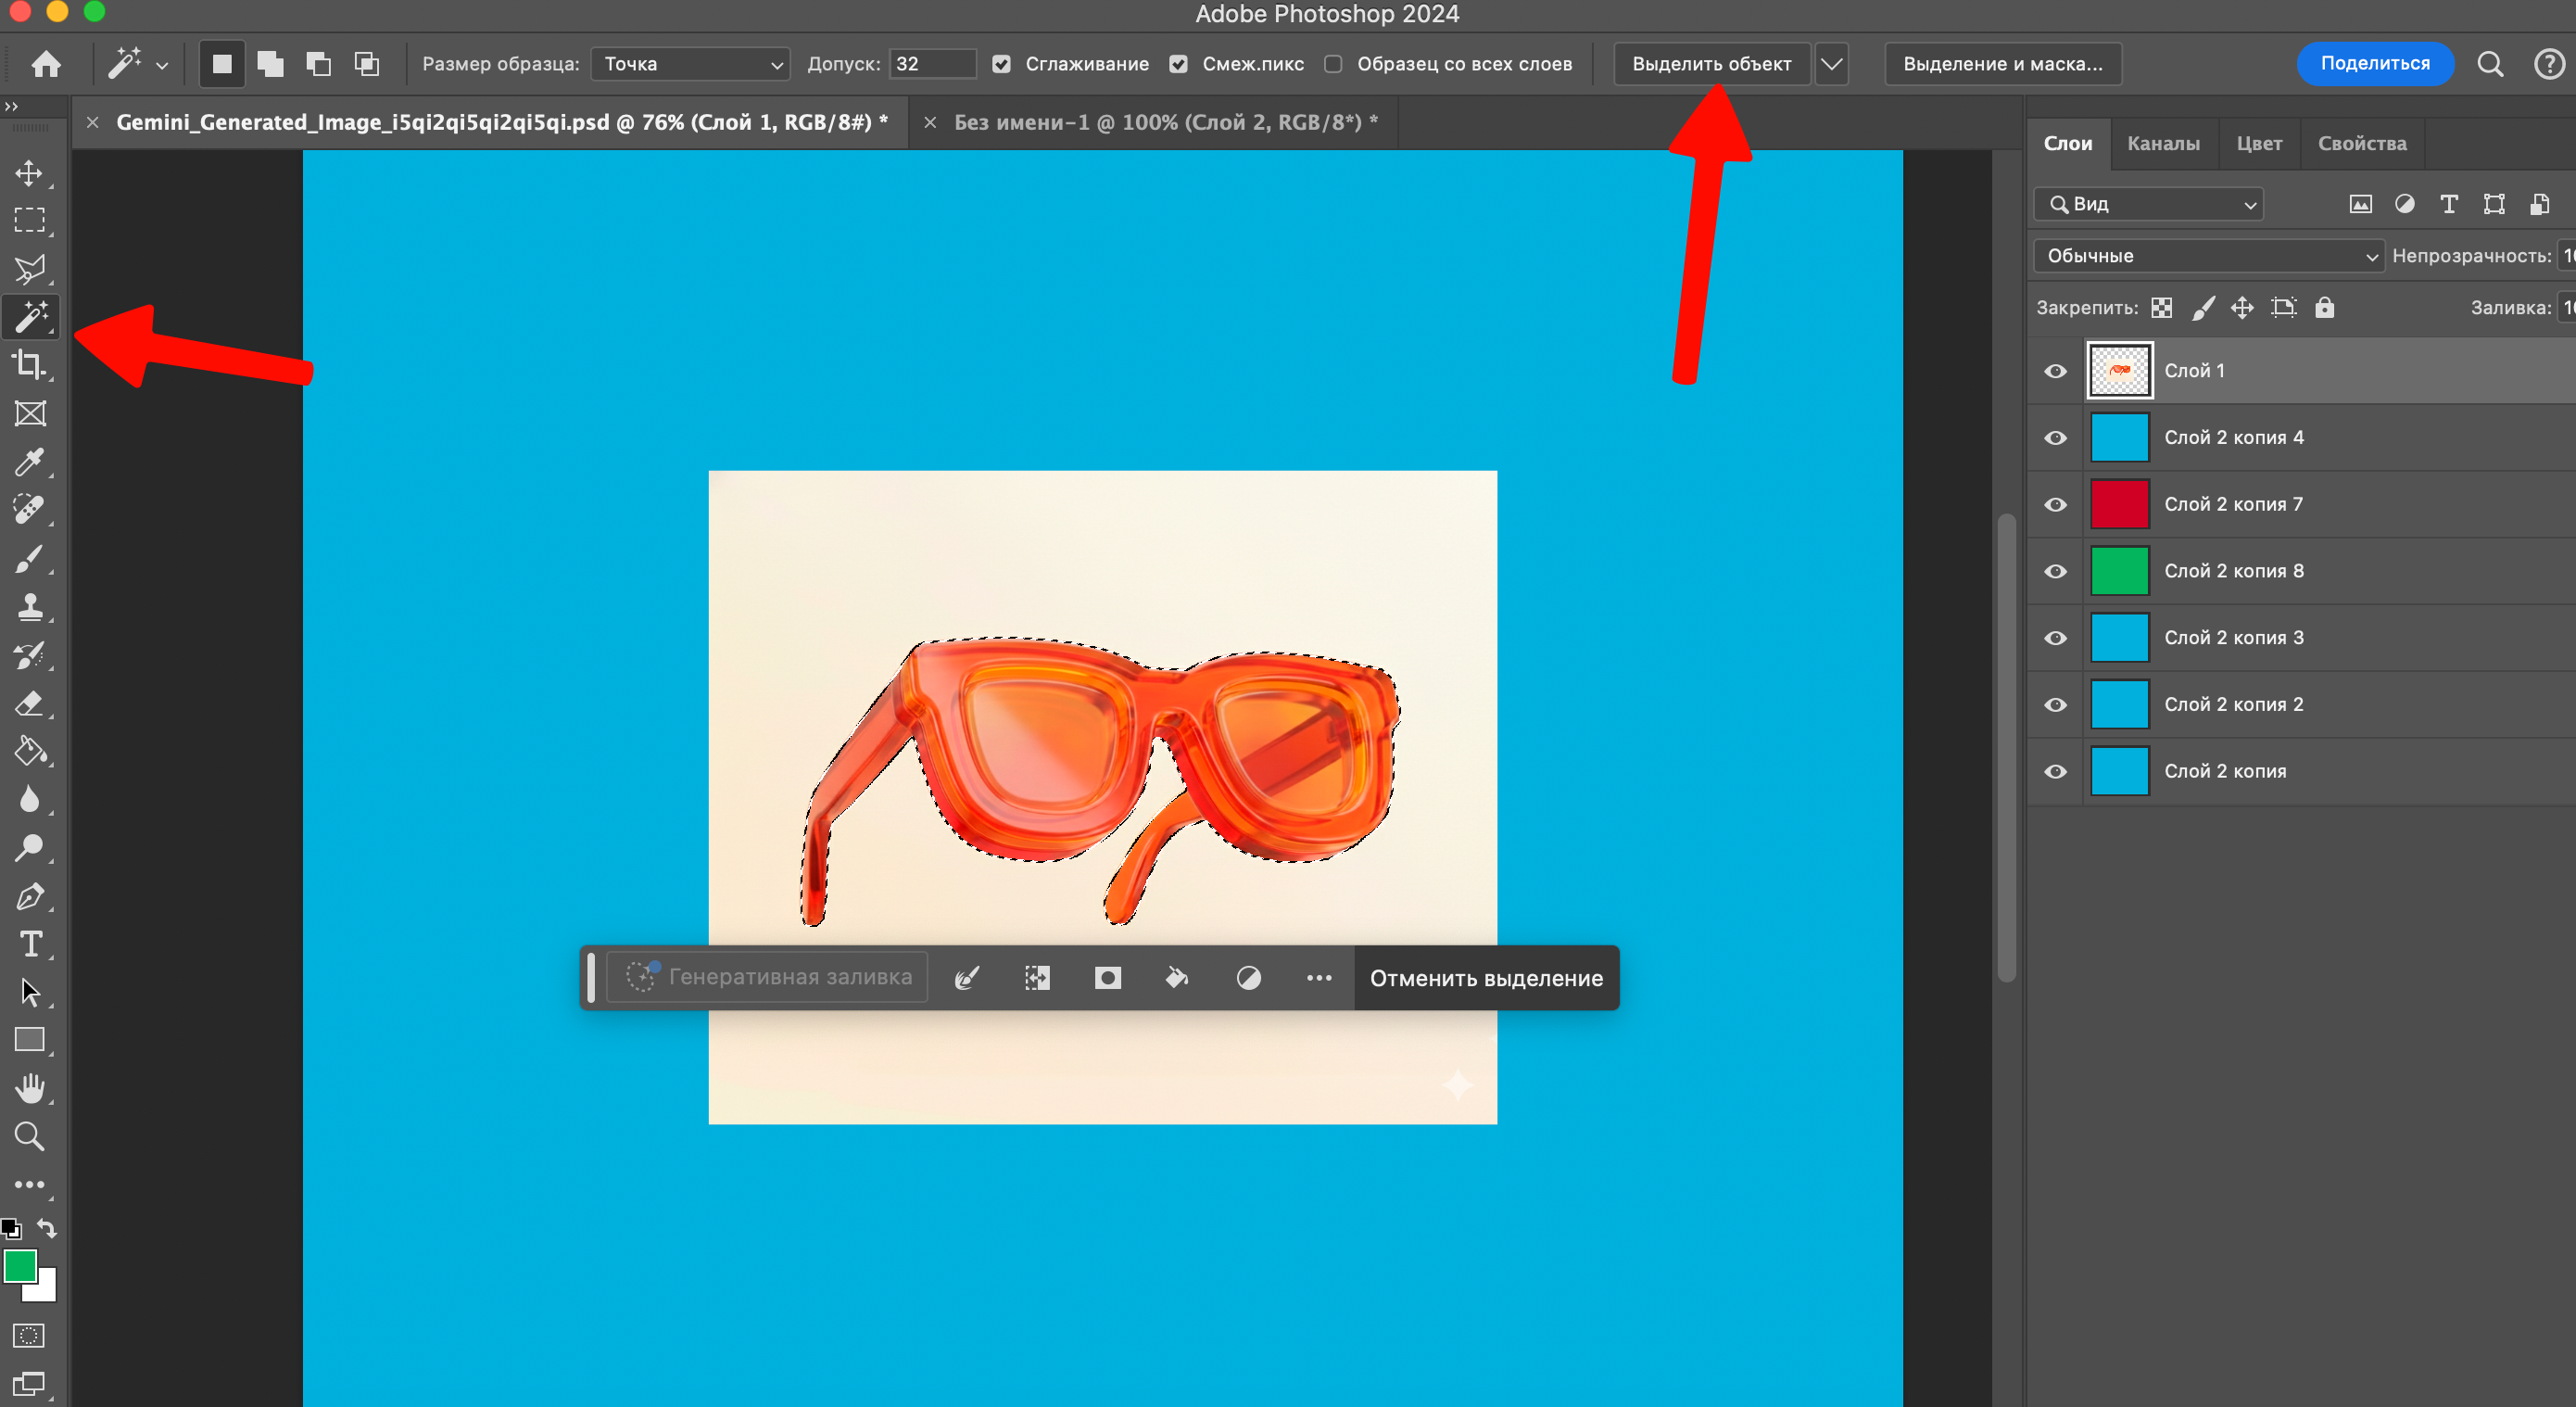
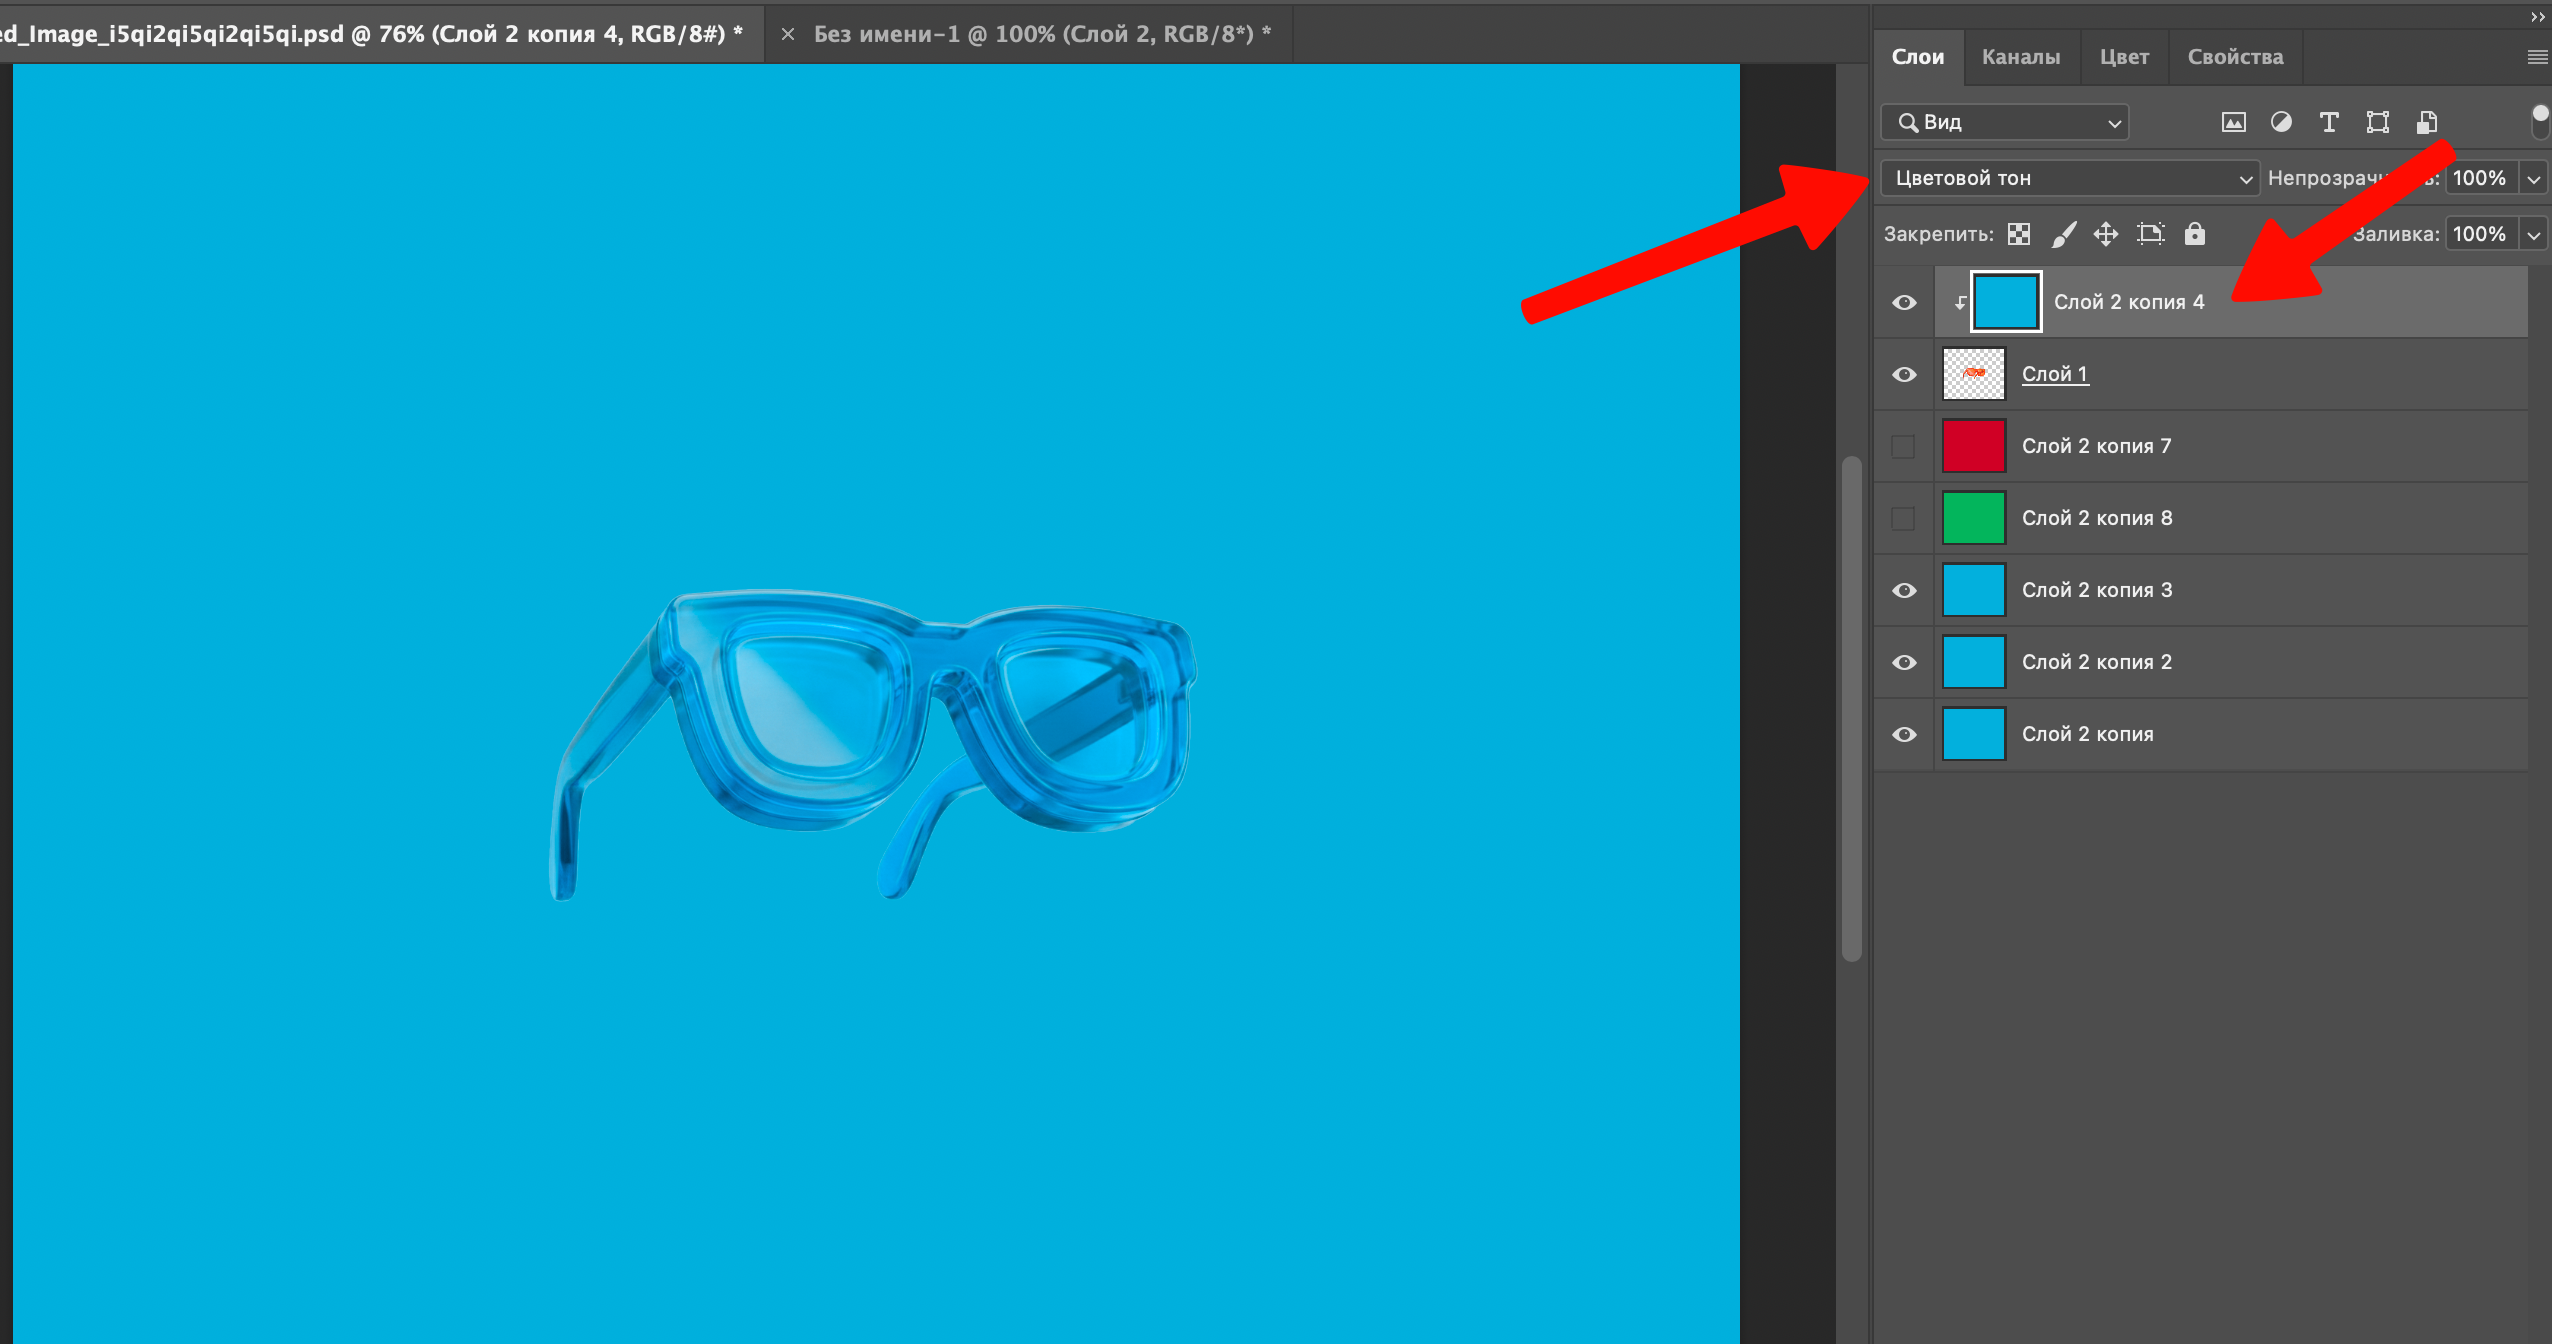
To change the object’s color, overlay a rectangle with the desired color using the “Hue” blending mode.
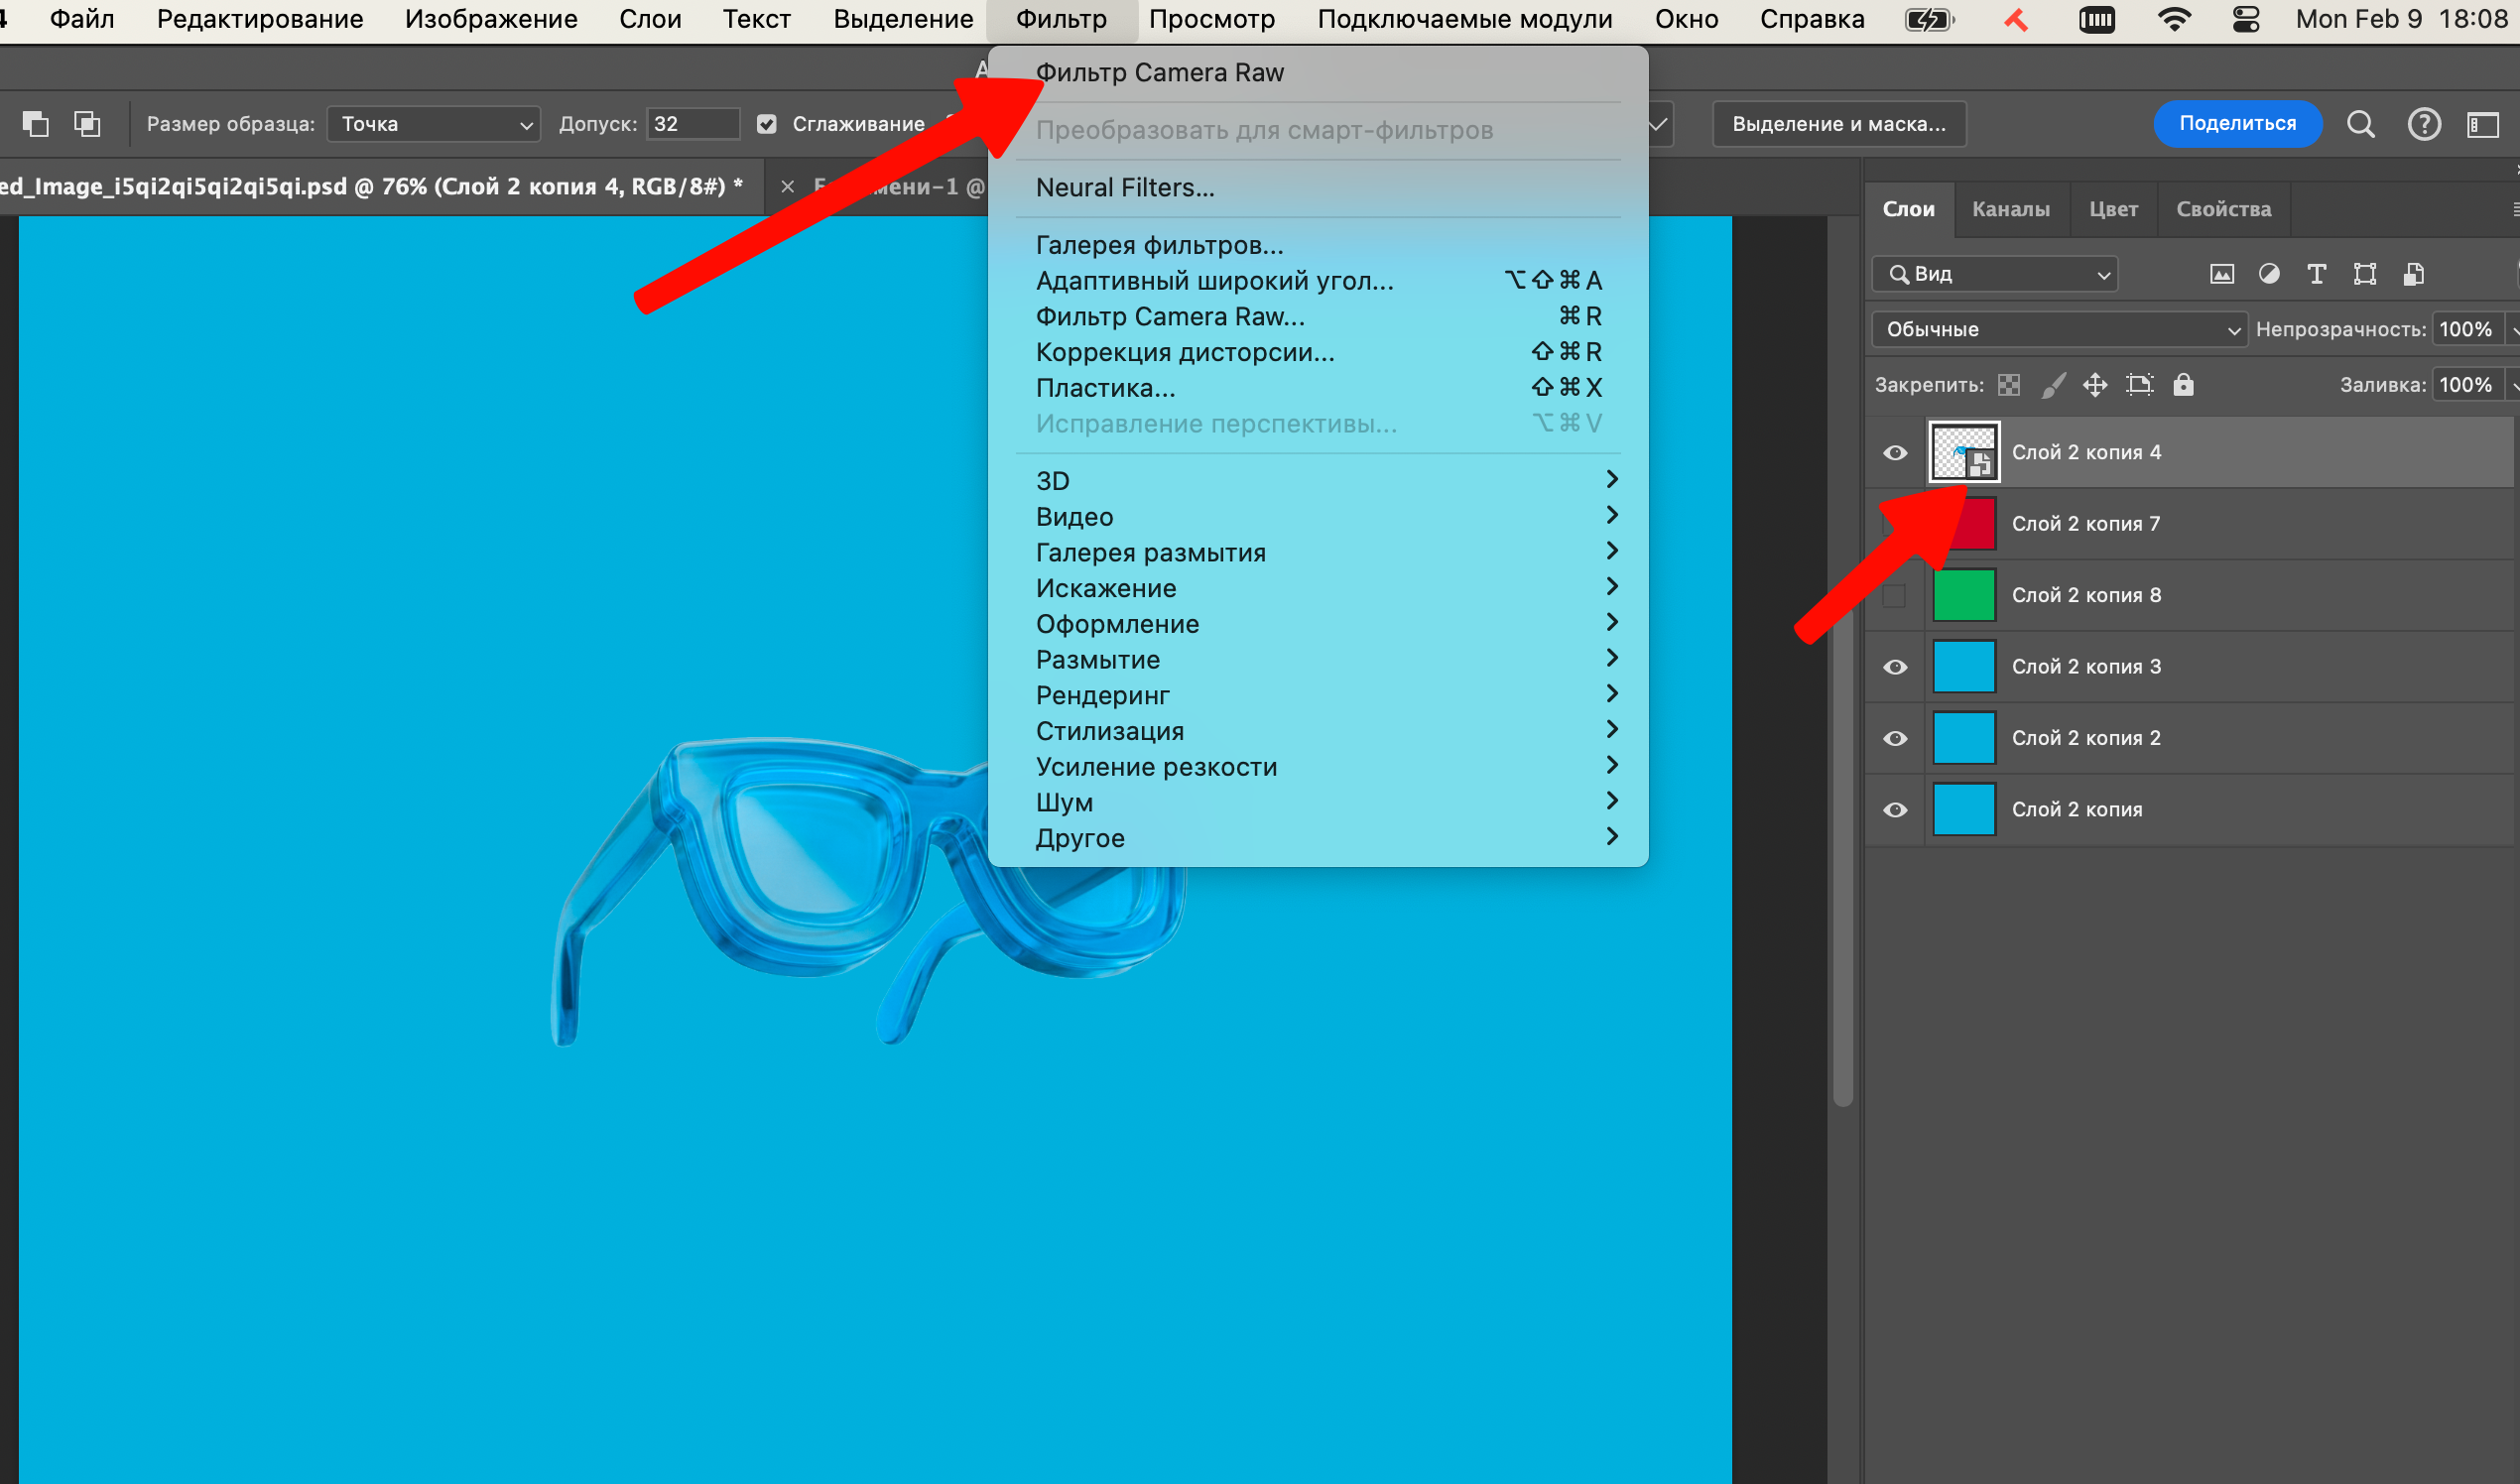
Next, merge the layers into a smart object and open Camera Raw.
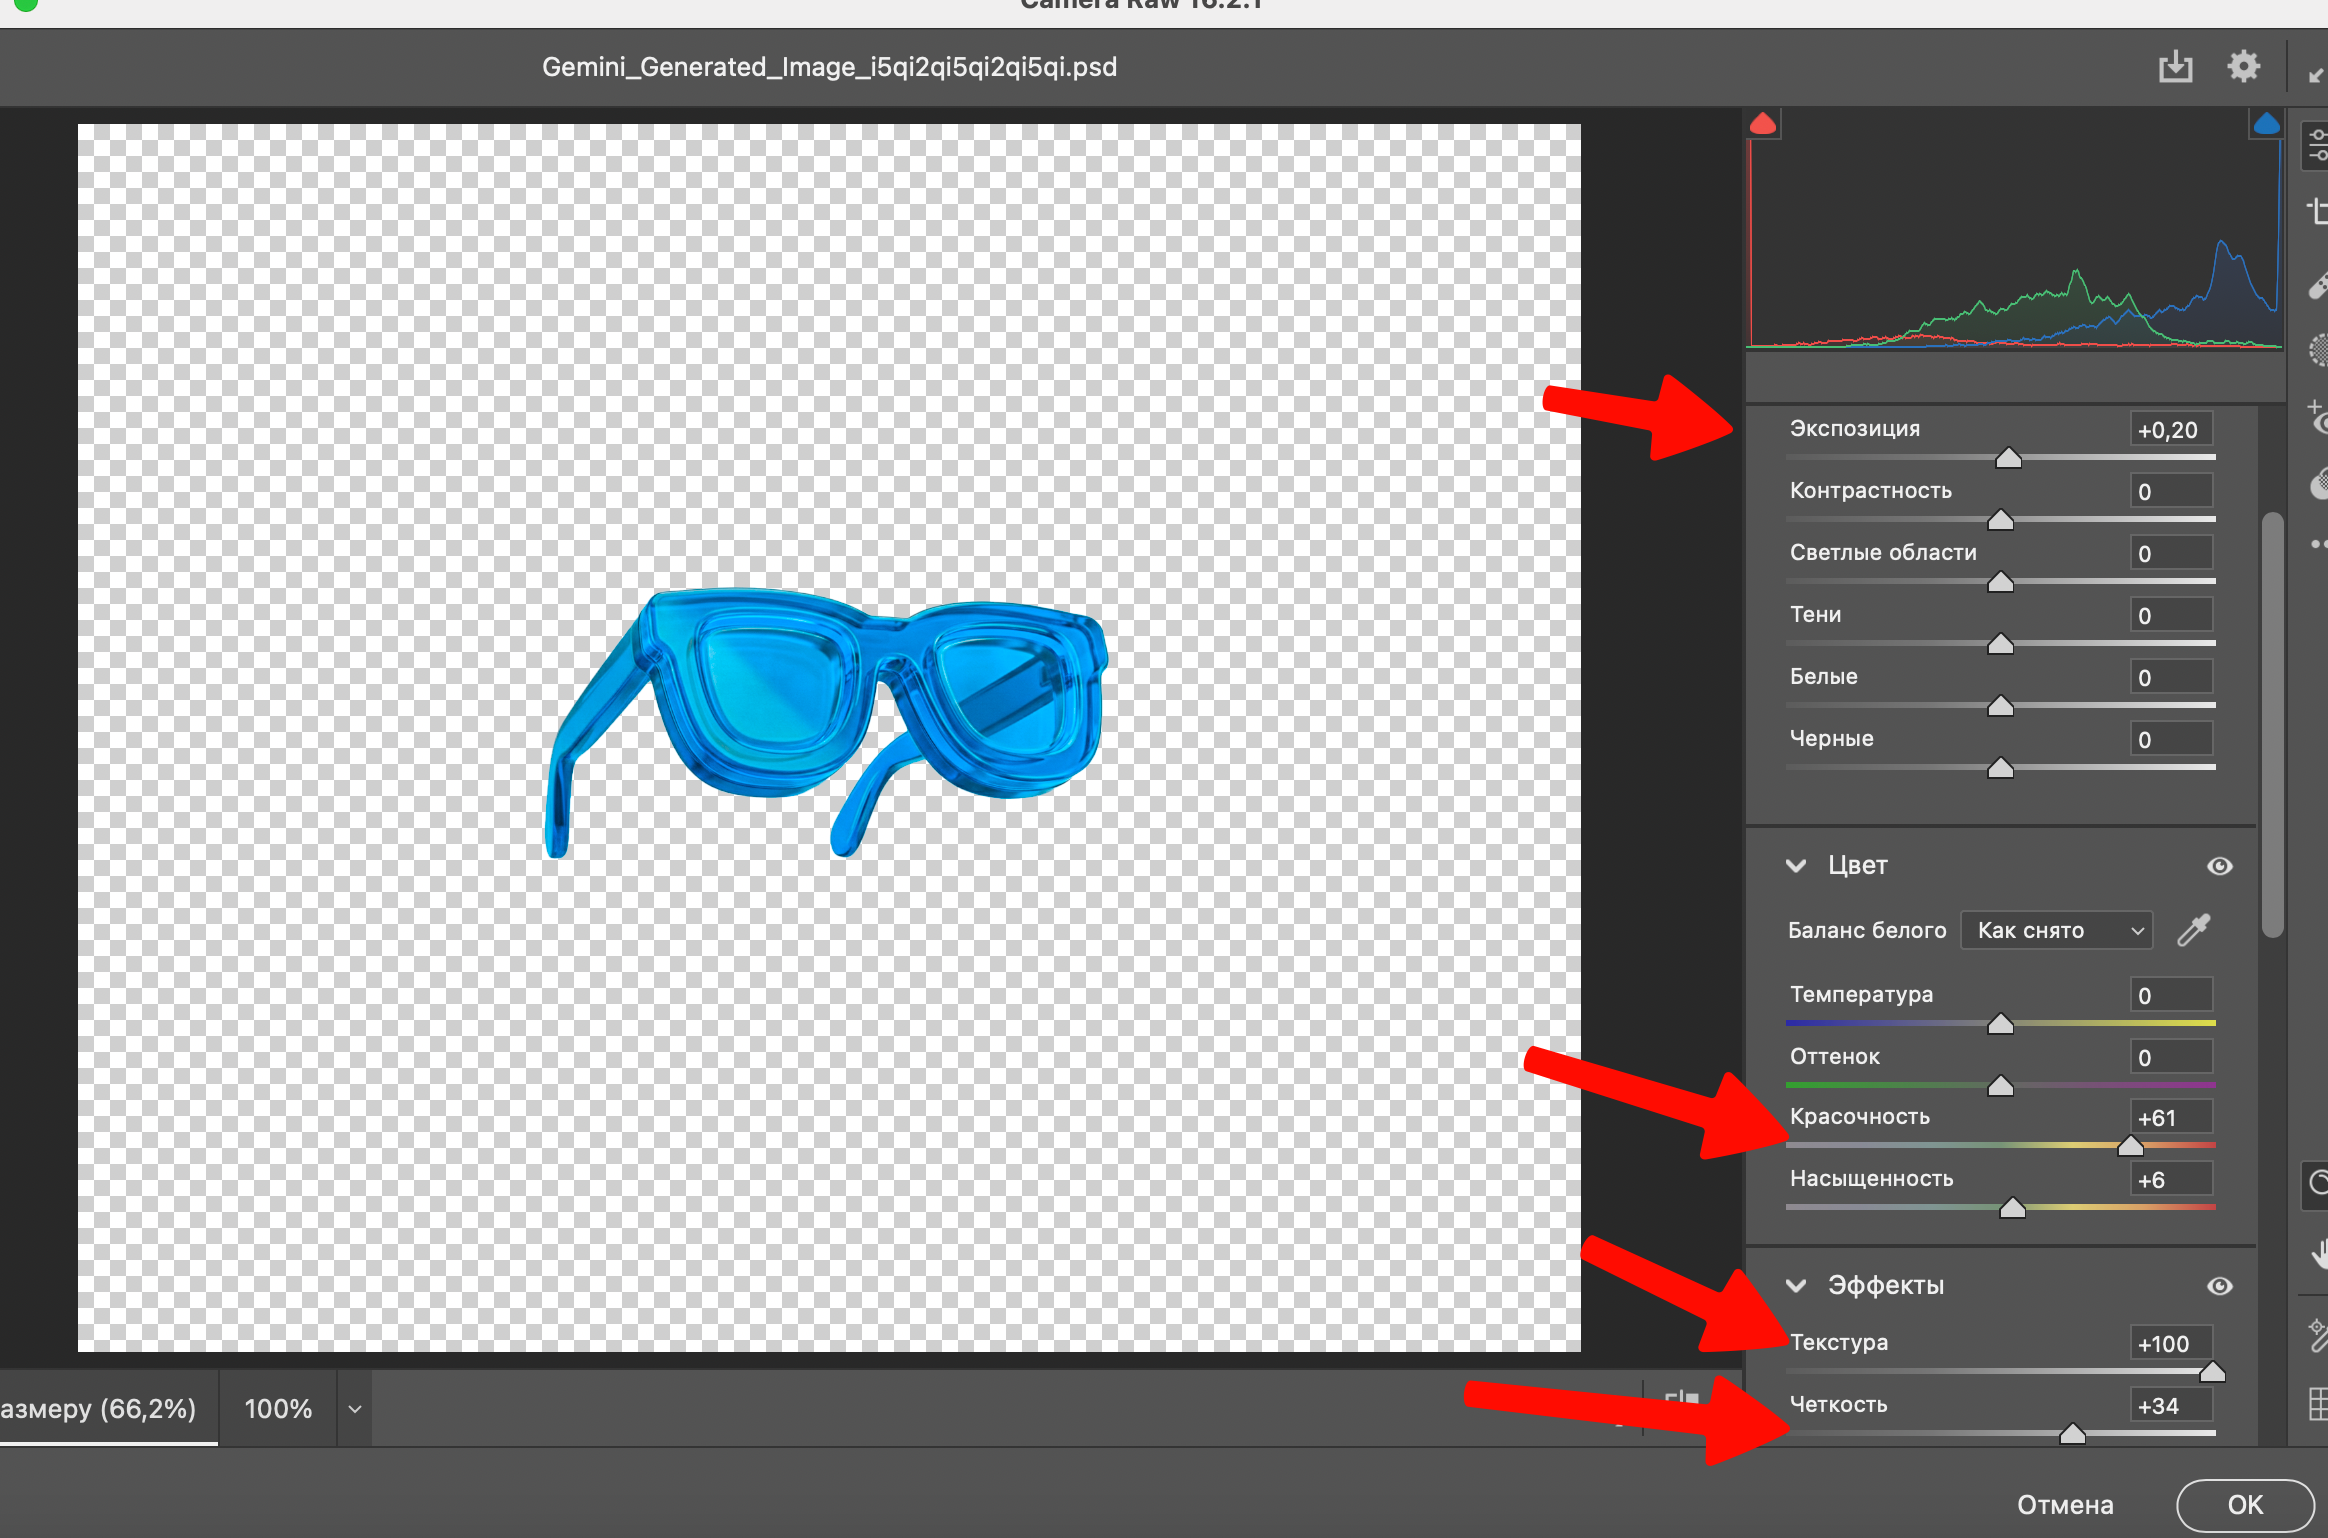
To make the image brighter and more saturated, you can max out clarity and texture, adjust vibrance and exposure. Just tweak these parameters until you like the result.
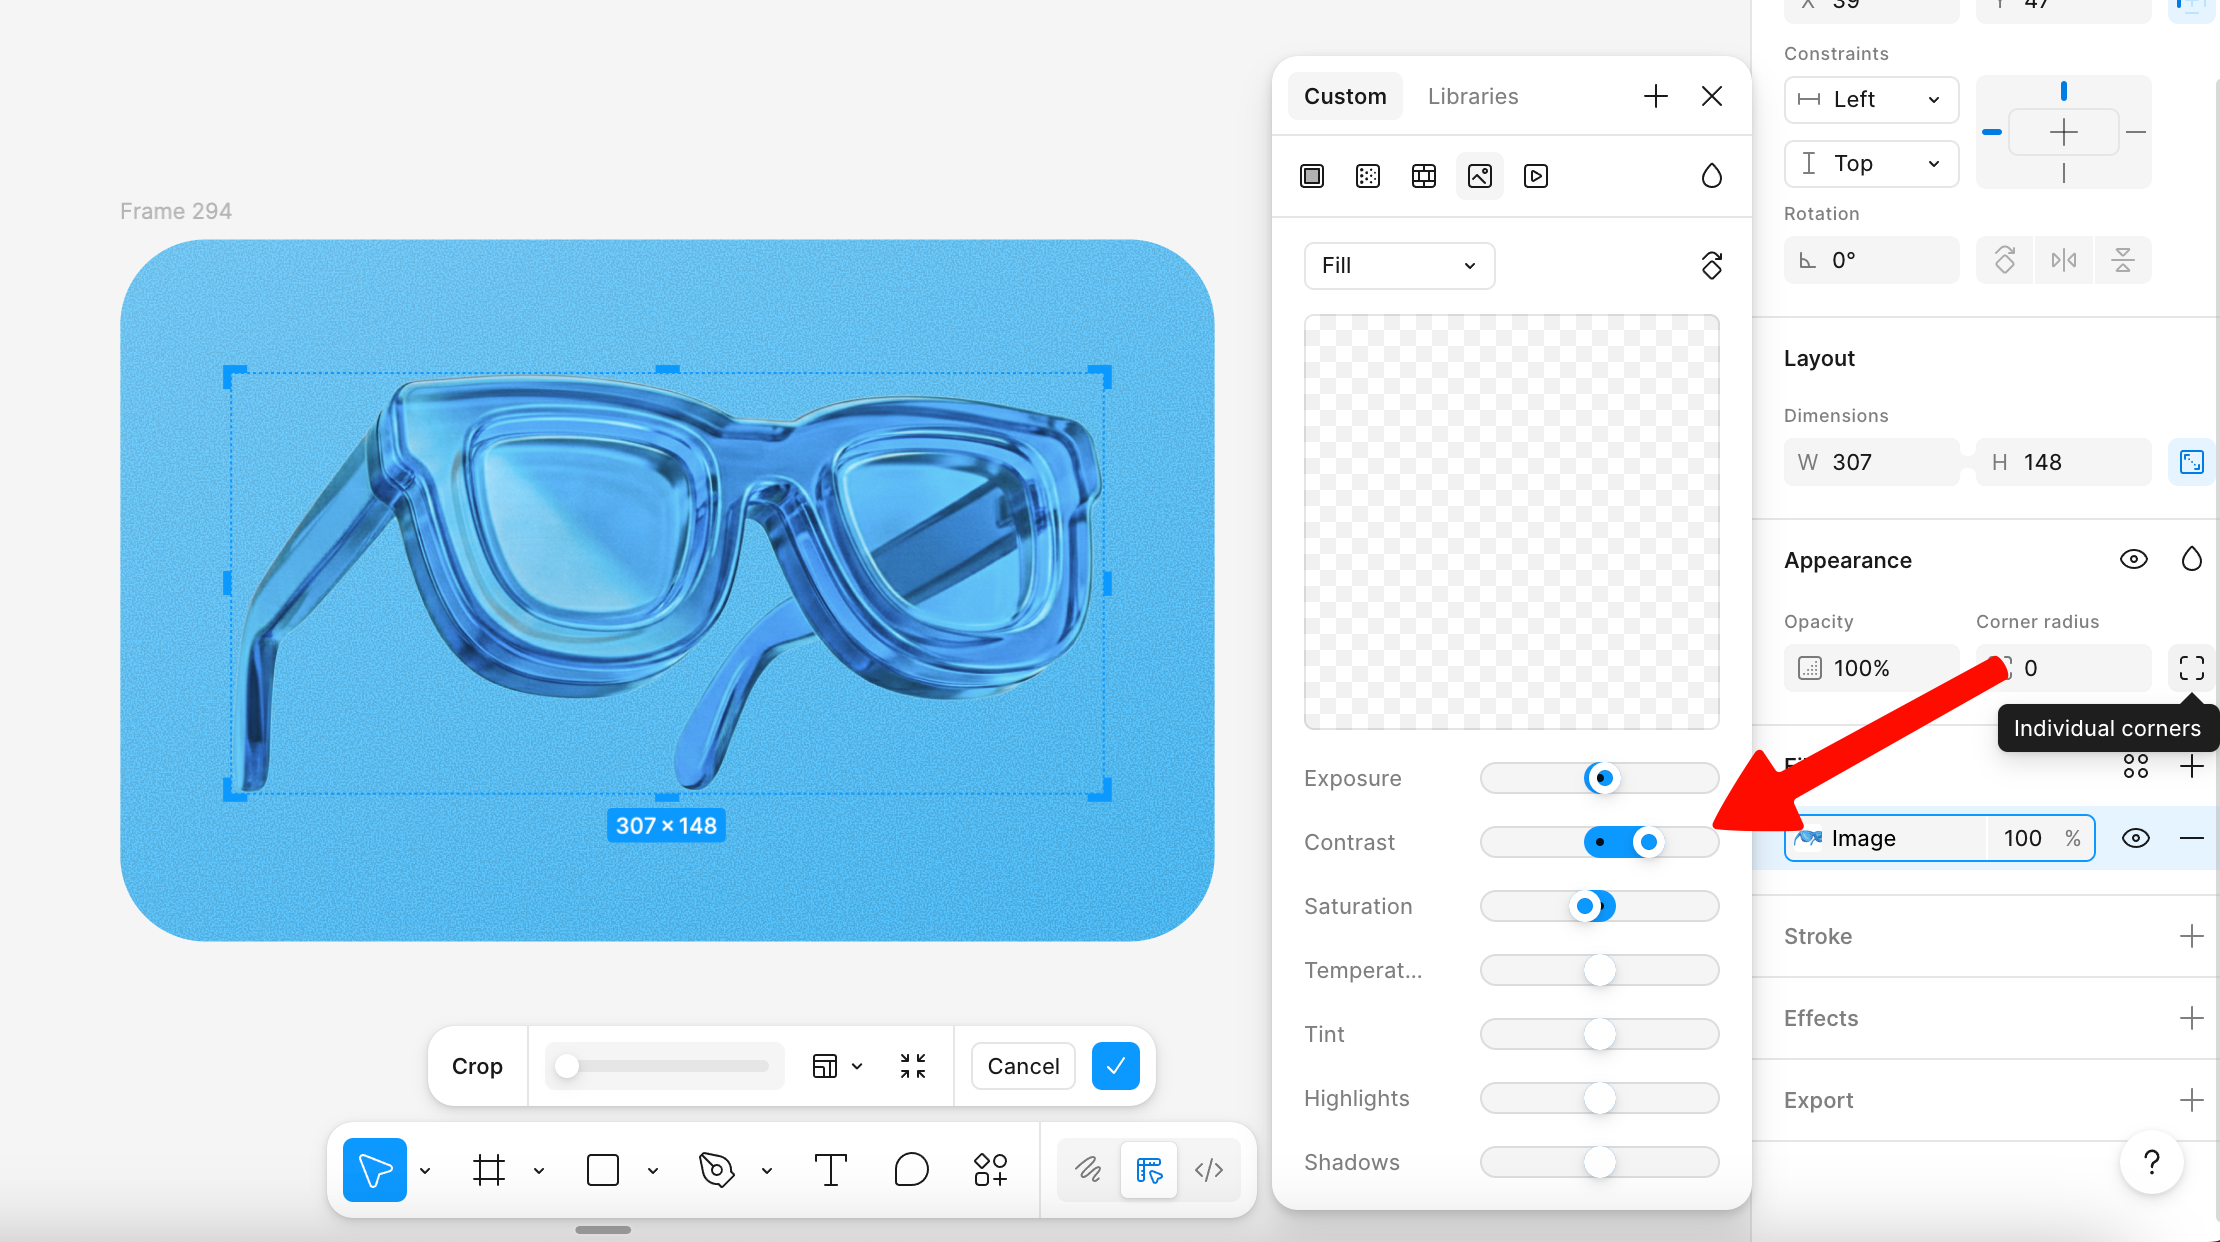
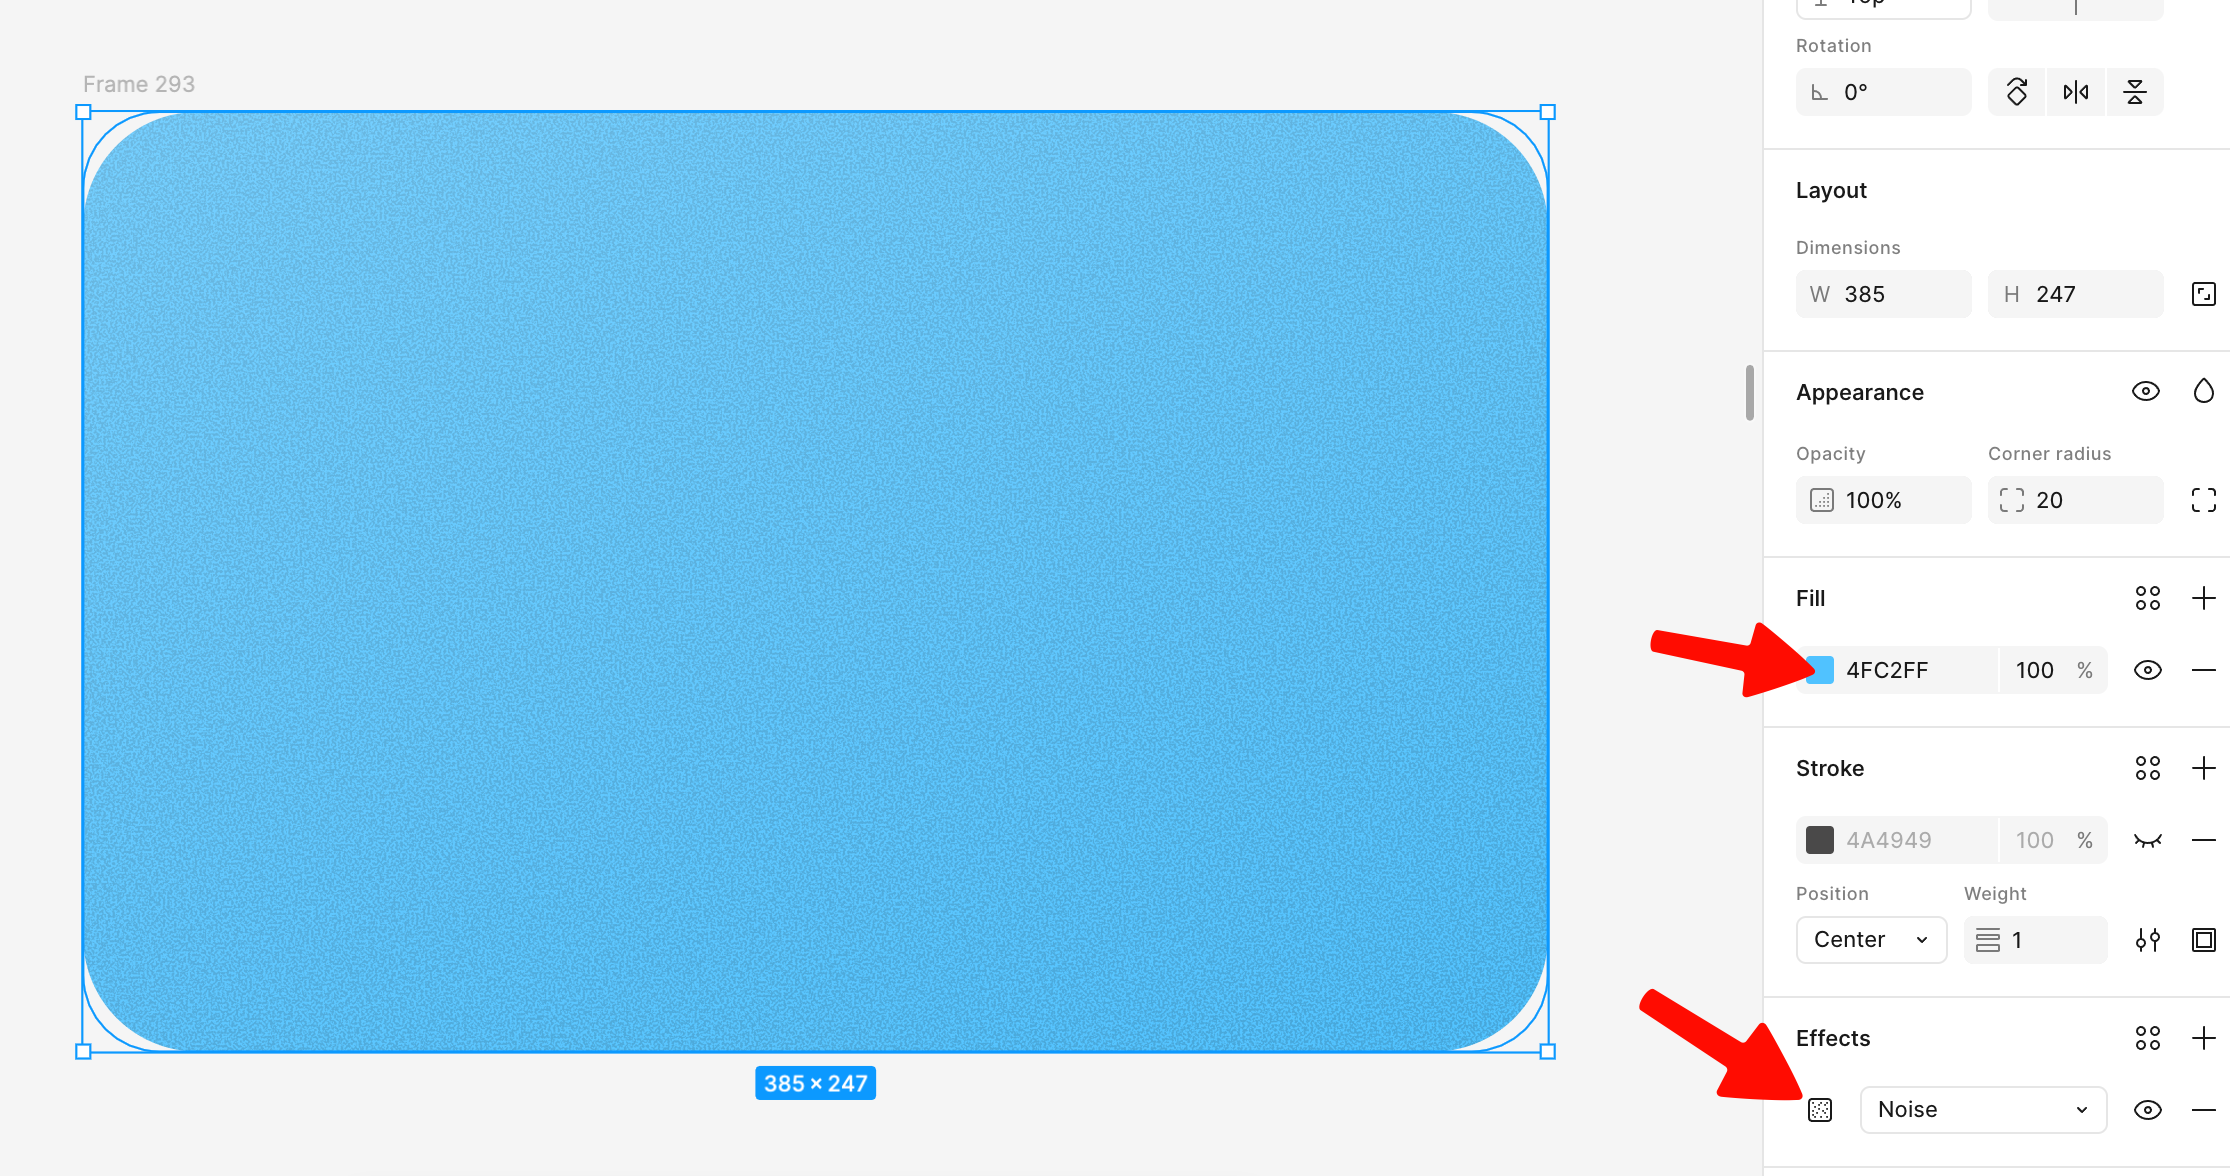
When you’re happy with the result — copy it to Figma. There, create a frame with a background for the preview, fill it with a similar color, and add some grain.
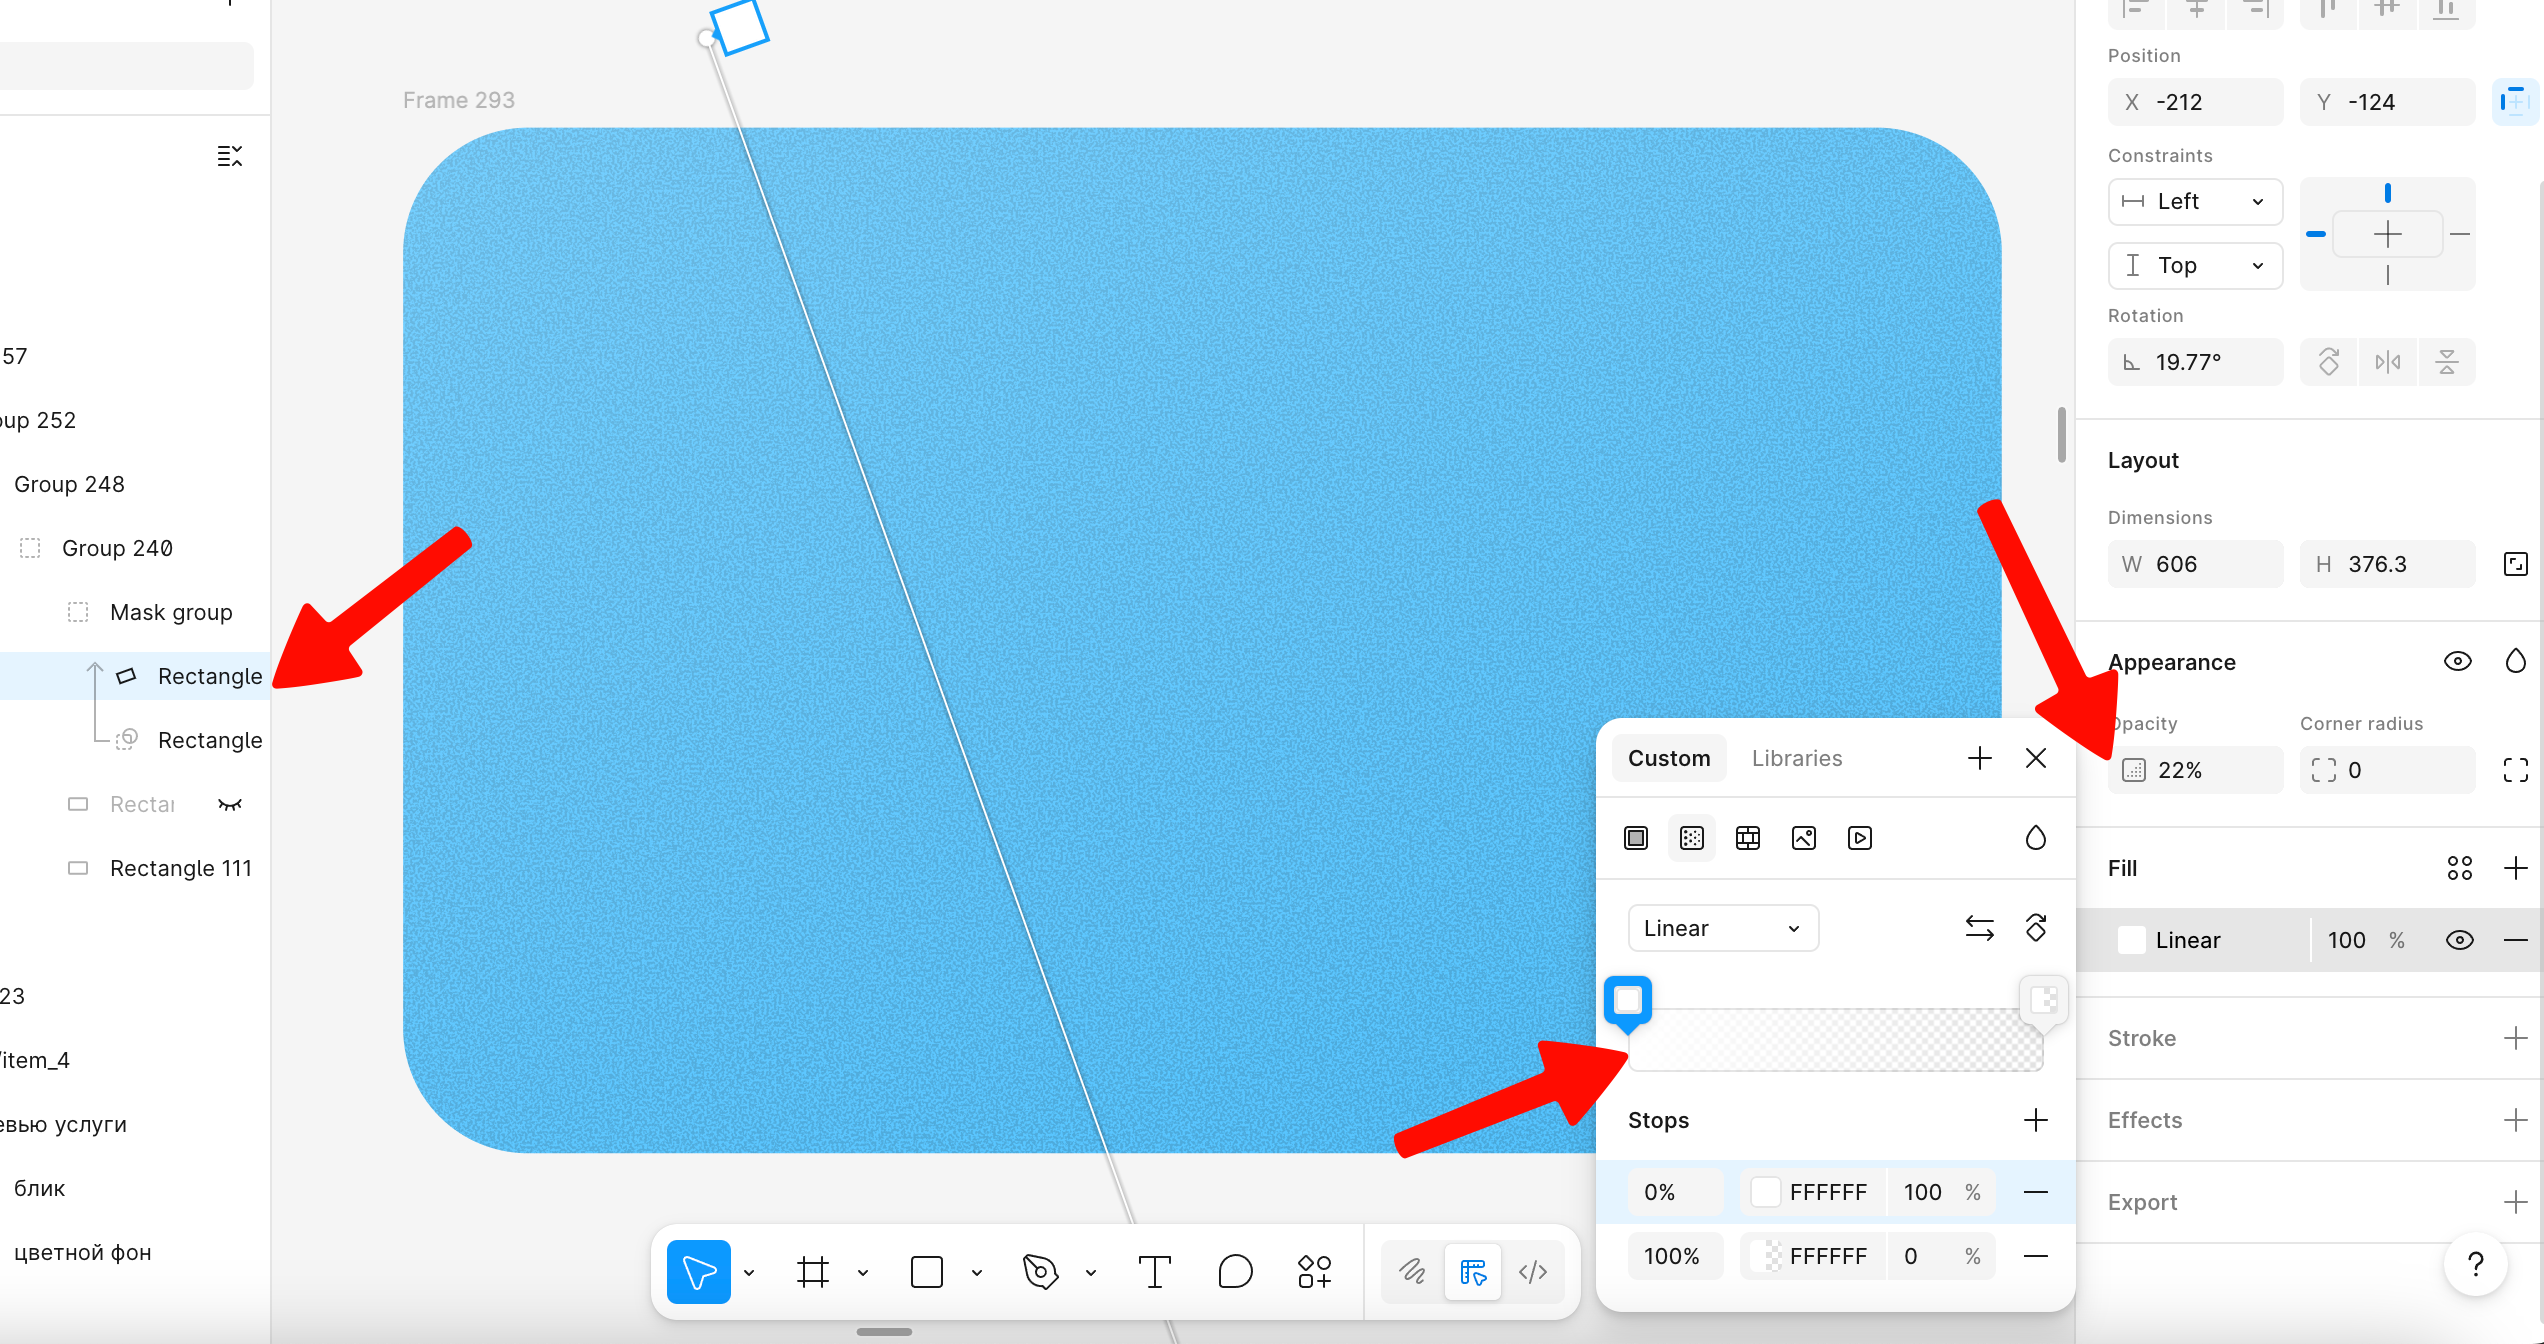
On top, to create a glare effect, you can overlay a white linear gradient with slight transparency.
Place our image on top, adjust the color correction to match the background — and you’re done.